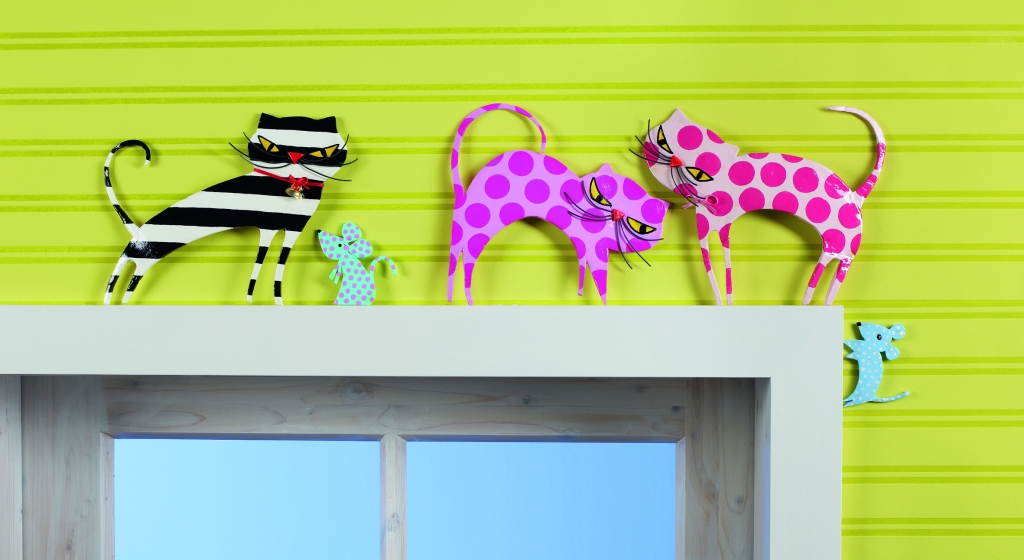


Your class will love making these novel cats and mischievous mice out of FIMOair light modelling clay.
It’s quick and easy to work with and doesn’t make any mess. Try painting these lively creatures in different colours to decorate the classroom or make a set for the children to play a game of cat and mouse.
You can download a template to use to cut out the cat and mouse shapes at (www.teachprimary.com/pdfs/cat_mouse_pattern.pdf) or let the children design their own.
As FIMOair light is so incredibly lightweight when dry, you could even make giant cats and mice and still be able to hang them on the wall or even sit them on top of a window or door frame!
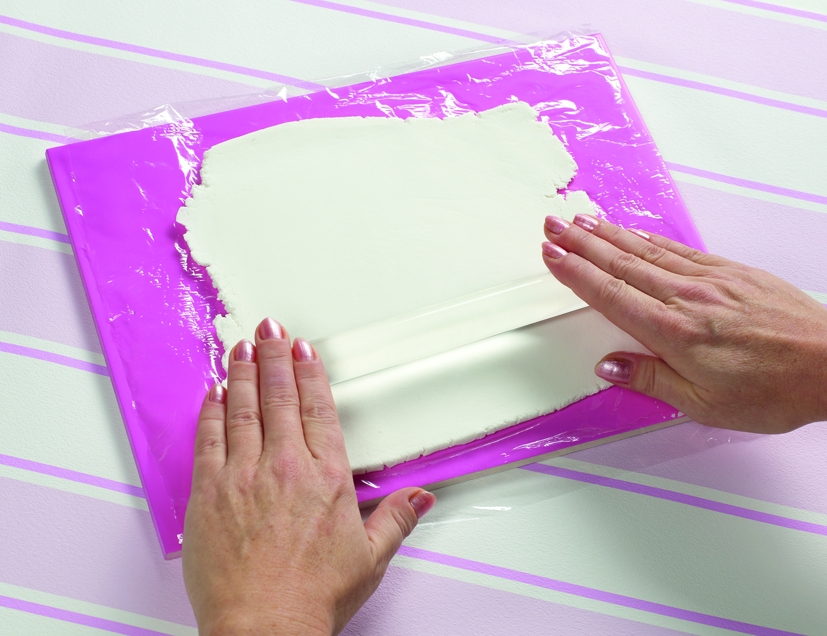
1 - Cut out paper templates and leave to one side. Cover work surface with cling film. Knead the block of FIMOair light and then flatten slightly using your hand. Roll the FIMOair light out until 1 cm – 2 cm thick. Be careful as if the sheet of FIMOair light is too thin, the edges may curl up when drying.
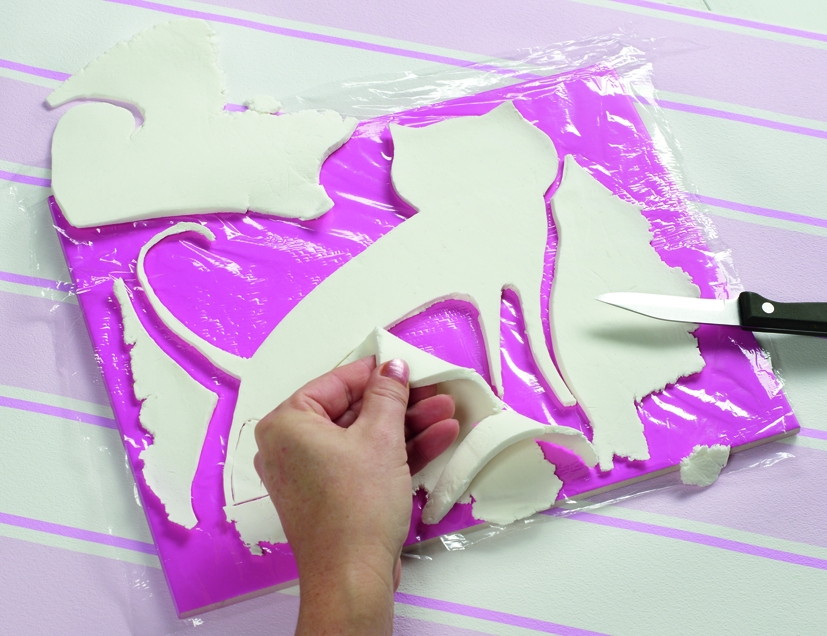
2 - Place the paper templates over the rolled FIMOair light and cut around the edges to make cat and mice motifs. Remove the templates.
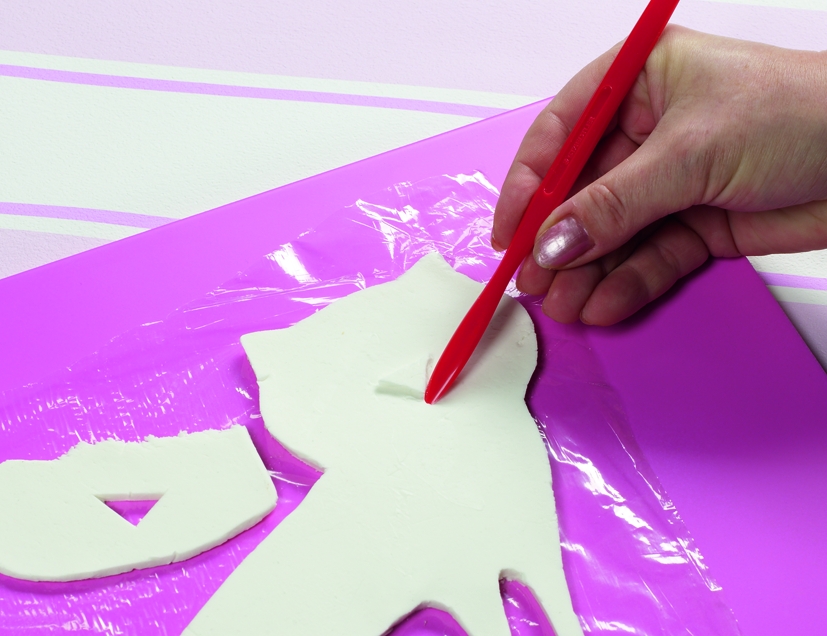
3 - For the cat’s nose, cut a triangle out of a piece of rolled FIMOair light. Position the nose on the cat’s face. Using a modelling tool, press along the edges of the nose carefully and smooth over the joins.
4 - Shape any leftover pieces of FIMOair light into a ball, roll again and cut more cats and mice.
5 - Allow the cat and mice to dry out at room temperature for at least 48 hours. After half of the drying time, turn the animals over so that the backs can dry as well.
6 - Use a pencil to draw eyes and mark the patterns. Use a ruler for the stripes and draw around a coin or lid for the polka dots.
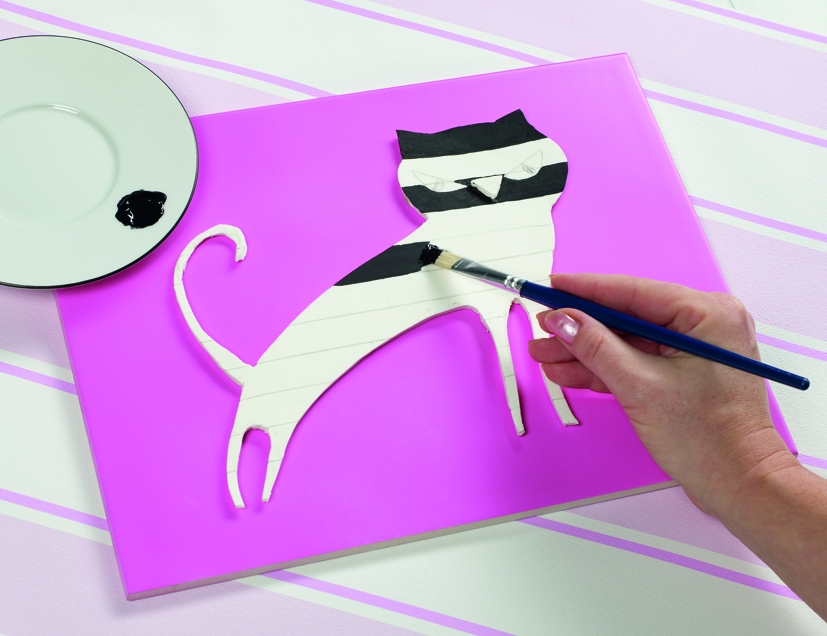
Now paint the cats and mice in colours of your choice using a brush. Smaller dots can be made using the tip of the brush. Allow the paint to dry then varnish your models to make them more hard wearing.
7 - For the cat’s whiskers, cut six lengths of wire approximately 5 cm long and bend slightly. Stick three whiskers as deeply as possible into the clay on each side of the nose. You can decorate the finished cat if you wish. Why not add a collar with a bell?
Finding FIMO
Stockists of FIMO classpacks include:
|
|


Power Maths – A Child-Centred, ‘Can-Do’ Mastery Teaching Programme for KS1 and KS2
Category: Maths

Fit To Dance Schools From Disney On Ice
Category: Other

‘S!ng Sensational’ And ‘A King Is Born’ – Two Fun New Musical Masterpieces That Children Will Love
Category: Music

Product review: Schofield & Sims Fractions, Decimals & Percentages
Category: Maths

New Praise Pencils
Classroom Furniture

Get Creative!
Art

Prepare Your Class for Summer Fun with Tilly’s At Home Holiday!
Ace-Art-And-Design

WIN A term’s worth of Lessons Plans
Ace-Music